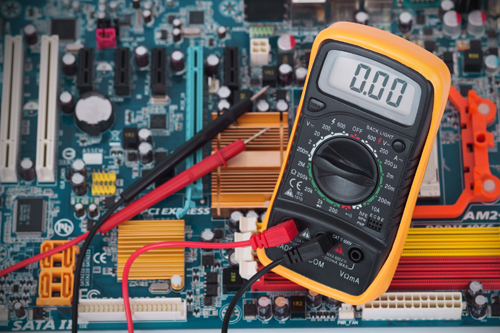
PCBs are simply an electronic component base where various components are positioned and soldered in place. PCBs are made by etching the copper layer on the core laminate with the electrical circuit (layout). The most popular method is based on utilizing a ferric chloride solution, although there are methods available as well. If etching is improper, then shorts between traces, or opens within traces can occur. In case the board is wholly etched and contains thin lines of connections b/w several components, then locating a short on a printed circuit board could be tough.
With the help of multimeter, one can measure various electrical parameters (AC & DC
voltage, current, capacitance, etc). A multimeter is basically a combination of voltmeter,
millimeter, and ammeter. A multimeter may likewise have different features, for
example, diode testing, coherence test, transistor test, TTL rationale test, and
recurrence test.
Important Points for continuity testing or trouble shooting of a PCB:
- Check the PCB traces under magnification to observe any anomalies such as possible shorts or opens Mark those locations and then refer to your circuit diagram.
- Find the traces or shorts marked as suspicious on the diagram. Check if these shorting points should be separate or connected. In some cases, traces are deliberately connected. Go through all suspicious short points and eliminate those connected in the circuit diagram.
- Insert the red Multimeter lead plug into the “V” socket of the millimeters and the black lead plug into the “COM” socket. Put the multimeter knob to the continuity test position.
- Turn on the meter. Test the multimeter continuity tester by tapping its 2 leads together. This should produce a continuous beep. In case it doesn’t beep, you have not put the knob to the continuity testing position, or the check the battery might have to be replaced.
- Connect the first probe of multimeter at one end and second probe on the last point of the suspicious traces. It isn’t a matter of concern what the polarity of connections is. You will need to press sturdily to make the electrical connection b/w the multimeter probes & the traces. In case a beep sound occurs, there is a short. Repeat this procedure for all doubtful traces.
A PCB, or Printed Circuit Board, contains many electronic components interconnected through thin copper traces. The distance between these traces can be very small, typically on the order of less than 1/2 millimeter. Such a little distance makes the side-by-side traces likely to short, which is getting electrically connected with each other. An electrical short in a circuit mighthamper its correct working, make it nonfunctional or damage its one or more elements.